.png)
How to Optimise Images for SEO: A Practical Guide
- Darren Burns
- Dec 29, 2025
- 8 min read


Over half of british online shoppers expect fast-loading product pages, yet many retailers still overlook image optimisation. For eCommerce managers trying to drive traffic and increase conversions, missing out on basic image SEO means leaving valuable search rankings on the table. This guide walks you through each step, showing practical ways to audit, format, resize, and describe your images for better visibility with search engines and a smoother shopping experience for your customers.
Table of Contents
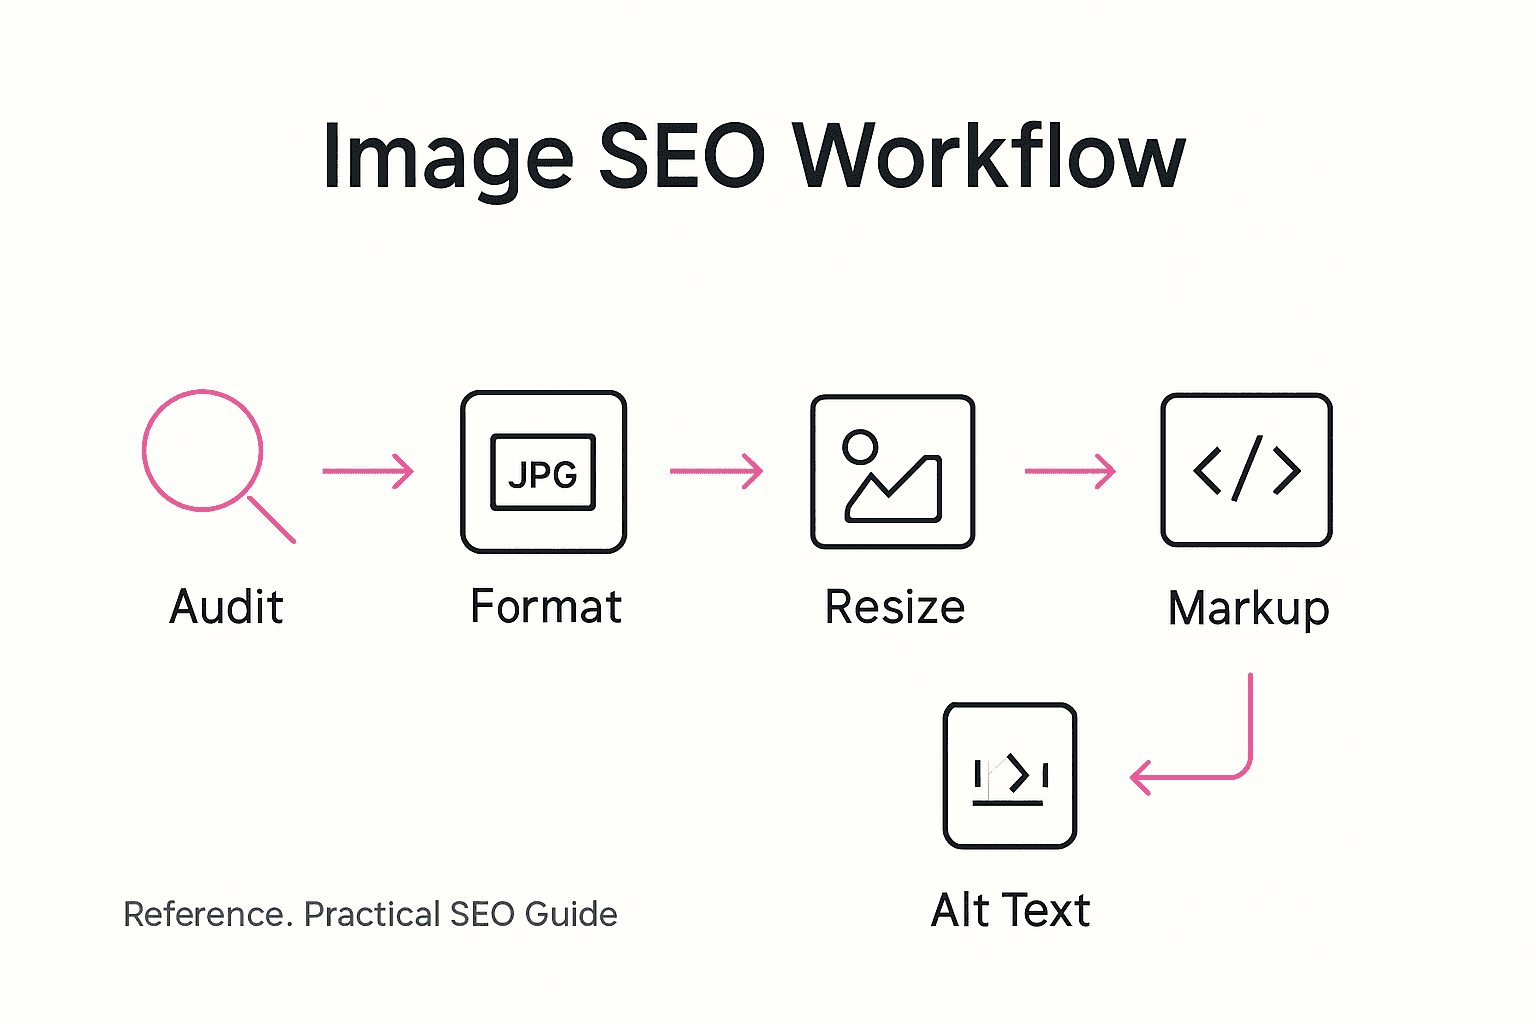
Quick Summary
Major Insight | Explanation |
1. Conduct an image audit | Review your current image library to identify performance metrics and SEO opportunities for improvement. |
2. Choose optimal image formats | Select formats like JPEG for photos and PNG or WebP for graphics to balance quality and loading speed. |
3. Resize and compress images | Aim to reduce image file sizes by 50-70%, ensuring they meet display requirements without losing visual quality. |
4. Use descriptive alt text | Implement concise alt text and meaningful file names to enhance accessibility and relevance in search engine results. |
5. Verify image performance | Regularly track metrics like load time and user engagement to evaluate the success of your image optimisation efforts. |
Step 1: Assess your current image library
Before diving into image optimisation, understanding your existing image collection is crucial. This step involves conducting a comprehensive audit of your website’s image resources to identify potential improvements and SEO opportunities.
Start by manually reviewing your image library or using specialised tools that can help analyse your current setup. Your goal is to evaluate each image based on several key criteria: file size, format, resolution, alt text quality, and relevance to your content. Google’s Image SEO Best Practices recommend a systematic approach to ensure your images are correctly embedded and discoverable by search engine crawlers.
Create a detailed spreadsheet to track your findings. Note each image’s current performance metrics such as load time, pixel dimensions, file type (JPEG, PNG, WebP), and whether it includes descriptive alt text. Pay special attention to images that are oversized, poorly compressed, or lack meaningful descriptions which can negatively impact your site’s performance and search rankings.
Top tip: Consider using free website crawler tools like Screaming Frog to automatically generate a comprehensive inventory of your website’s image assets, saving you hours of manual review.
Step 2: Select appropriate image formats
Choosing the right image format is a critical step in optimising your website’s visual performance and search engine visibility. Your image format selection can significantly impact loading speed, visual quality, and overall user experience.
Google’s Image SEO Best Practices recommend a strategic approach to image format selection. Different image types require different formats. Photographic images typically perform best in JPEG or WebP formats, which offer excellent compression and quality balance. For graphics with transparency or sharp edges like logos and illustrations, PNG or WebP formats provide superior clarity and crisp details. WebP is increasingly becoming a preferred format as it offers smaller file sizes without compromising image quality.
Consider your specific image requirements when selecting formats. Evaluate factors like colour depth, transparency needs, compression levels, and browser compatibility. Test multiple formats to determine which provides the optimal balance between image quality and file size for your specific website context. Modern browsers support WebP increasingly well, making it an excellent choice for many web images.
Top tip: Use online conversion tools to quickly experiment with different image formats and compare their file sizes and visual quality before committing to a specific format for your website images.
Here is a quick comparison of common image file formats and their ideal use cases:
Format | Best For | Compression Efficiency | Transparency Support |
JPEG | Photographs, complex images | High, small file size | Not supported |
PNG | Logos, graphics with text | Moderate, retains quality | Supported |
WebP | Most websites and images | Superior, very small size | Supported |
GIF | Simple animations | Low for photos; decent for graphics | Supported |
Step 3: Resize and compress images efficiently
Optimising image dimensions and file sizes is crucial for improving your website’s performance and search engine rankings. This step involves strategically reducing image file sizes without compromising visual quality.

Google’s Image SEO Best Practices emphasise the importance of responsive image sizing across different devices. Start by determining the maximum display width on your website. For most responsive designs, this typically ranges between 1200 to 2000 pixels. Avoid uploading massive high-resolution images that exceed your website’s display requirements, as these unnecessarily increase page load times and consume additional bandwidth.
Employ professional image compression tools to reduce file sizes intelligently. Tools like TinyPNG, ImageOptim, and Squoosh offer advanced algorithms that can dramatically decrease file sizes while maintaining excellent visual clarity. Focus on finding the optimal balance between image quality and file size. Aim to reduce image file sizes by 50 to 70 per cent without introducing visible compression artefacts. Consider creating multiple image sizes for different device breakpoints to ensure fast loading across smartphones, tablets, and desktop computers.
Top tip: Always keep an uncompressed original backup of your images before compression to ensure you can recreate them if needed.
Step 4: Add targeted alt text and file names
Creating strategic alt text and meaningful file names is essential for improving your website’s image accessibility and search engine optimisation. These elements provide crucial context for both users and search engine crawlers about your visual content.
When naming image files, avoid generic labels like “image1.jpg” or “photo123.png”. Instead, use descriptive and keyword rich names that accurately reflect the image content. For instance, if you have a product image of a blue cotton t-shirt, a good file name would be “navy-cotton-tshirt-front-view.jpg”. This approach helps search engines understand your image context and improves your chances of appearing in relevant image search results.
For alt text, write concise yet descriptive phrases that explain the image content and purpose. Aim for 10 to 15 words that capture the essential information. If the image is decorative and adds no meaningful content, use an empty alt attribute to help screen readers skip it. For product images, include relevant details like colour, style, and key features. The goal is to create alt text that provides value for visually impaired users and enhances your website’s SEO performance.
Top tip: Use screen reader software to test your alt text and ensure it provides a clear and meaningful description of your images.
Step 5: Implement structured image markup
Structured image markup represents a powerful technique for providing search engines with comprehensive metadata about your visual content. By implementing these advanced coding strategies, you can significantly enhance your images’ discoverability and search engine performance.
Google’s Image SEO Best Practices recommend using Schema.org’s ImageObject to create rich, contextual information for your images. This involves adding JSON-LD structured data that describes key image attributes such as dimensions, licensing, creator details, and content description. For eCommerce websites, this means including specific product information like price, availability, and unique identifiers that help search engines understand your visual assets more comprehensively.
To implement structured markup, you will need to generate JSON-LD code that accurately represents each image’s characteristics. Focus on including precise details like image width, height, file format, and a detailed description. For product images, incorporate additional metadata such as brand, model number, and specific product features. Ensure your markup is clean, accurate, and directly matches the actual image content to maximise search engine trust and potential rich result displays.
Top tip: Use online structured data testing tools to validate your markup before implementation, ensuring complete compatibility with search engine guidelines.
Step 6: Verify image SEO performance
Validating your image optimisation efforts is crucial for understanding how effectively your visual content contributes to search engine rankings. This final step involves comprehensive assessment and tracking of your image SEO performance across multiple dimensions.
Start by utilising free diagnostic tools like Google Search Console to analyse how search engines are indexing and presenting your images. These platforms provide invaluable insights into image search appearances, click through rates, and potential technical issues. SEO Basics for eCommerce can help you understand the broader context of performance tracking and how image optimisation fits into your overall strategy.
Conduct regular performance audits using a combination of technical analysis and real world metrics. Check loading speeds, mobile responsiveness, and how your images appear in search results. Pay attention to metrics like image search impressions, user engagement rates, and potential opportunities for improvement. Consider creating a quarterly review process where you systematically evaluate your image SEO strategy and make data driven adjustments.
Top tip: Create a spreadsheet to track your image performance metrics over time, enabling you to visualise progress and identify trends in your SEO optimisation efforts.
Below is a summary of key image SEO metrics to track for ongoing optimisation:
Metric | What It Measures | Improvement Insight |
Load Time | Image impact on speed | Slow images signal need for compression |
Alt Text Quality | Description accuracy | Better descriptions aid accessibility |
Search Impressions | Image visibility in results | Low impressions need improved metadata |
Click Through Rate | User engagement with images | Low rate suggests weak relevance |
Master Your Image SEO for Exceptional eCommerce Growth
Optimising images for SEO is a challenge many eCommerce businesses face. This guide highlights key pain points such as choosing the right image formats, precise alt text, and structured markup that improve search engine visibility while enhancing user experience. Struggling with slow loading images or weak search impressions can hold your website back from reaching its full potential. Imagine turning these hurdles into powerful growth drivers through expert optimisation techniques tailored to your brand.
Our digital marketing services specialise in SEO, AI, Social Media, and PPC for eCommerce websites. With over 25 years of experience scaling multiple successful brands, we understand how critical image SEO is to your overall strategy. From resizing and compressing images effectively to implementing structured data markup, we can help you achieve faster load times, higher search impressions, and better customer engagement.
Ready to transform your website’s image SEO and propel your eCommerce brand forward?

Unlock the full potential of your visual content with tailored solutions at iwanttobeseen.online. Explore our expert services and get started today to see real results. Don’t let poorly optimised images slow your business down. Visit iwanttobeseen.online and take control of your image SEO now.
Frequently Asked Questions
How can I assess my current image library for SEO optimisation?
To assess your current image library, conduct a comprehensive audit to evaluate file size, format, resolution, alt text, and relevance. Create a detailed spreadsheet to track each image’s performance metrics such as load time and pixel dimensions, aiming to identify areas for improvement within 1–2 weeks.
What image formats are best for SEO optimisation on websites?
The best image formats for SEO optimisation include JPEG or WebP for photographic images, and PNG or WebP for graphics with transparency. Select the appropriate format based on your image type, aiming for the optimal balance between quality and file size to improve loading speeds, ideally testing different formats before uploading.
How do I resize and compress images for better SEO performance?
Resize and compress images by determining the maximum display width needed for your website, usually between 1200 and 2000 pixels. Use image compression tools to reduce file sizes by 50–70%, ensuring that visual quality is maintained, and complete this process for all new images uploaded within one month.
What should I include in my image alt text and file names for SEO?
Include descriptive and keyword-rich phrases in your image alt text and file names, avoiding generic labels. Aim for concise phrases that explain the image’s content in 10 to 15 words, helping improve your site’s accessibility and search engine rankings as you update existing images.
How do I implement structured image markup for enhanced SEO?
To implement structured image markup, use JSON-LD code to add metadata about your images, such as dimensions, licensing, and content descriptions. Ensure the markup accurately reflects the image’s attributes to boost its discoverability, completing this for your key images over the next month.
What metrics should I track to verify my image SEO performance?
Track metrics such as load time, alt text quality, and search impressions to verify your image SEO performance. Regularly review these metrics every quarter to identify trends and areas for improvement, aiming for a visible progress report within the first three months of implementing changes.
Recommended
Comments